
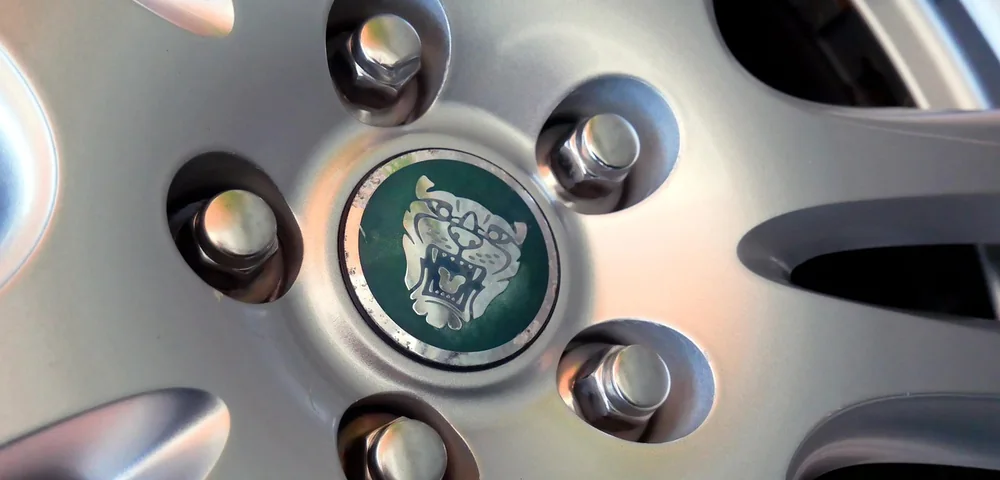
You measure a wheel bolt pattern by counting the lug holes, then measuring center-to-center distance between specific studs depending on whether the pattern has an even or odd number of bolts. For even patterns (4, 6, or 8 lugs), measure straight across to the hole directly opposite. For odd patterns (5 lugs), measure from the center of one hole to the outer edge of the hole farthest across, or use a bolt pattern gauge or app to skip the math entirely. Getting this measurement right is the single most important step before buying new wheels, adapters, or a spare — get it wrong and the wheel simply won’t bolt on, no matter how good the deal was.

What Is a Bolt Pattern?
A bolt pattern (also called a lug pattern, PCD for Pitch Circle Diameter, or BCD for Bolt Circle Diameter — all three mean the same thing) describes two things: how many lug bolts or studs hold the wheel to the hub, and the diameter of the imaginary circle that passes through the center of each of those lug holes. It’s written as a number-by-number format, like 5×114.3 or 6×139.7. The first number is the lug count; the second is the PCD in millimeters (sometimes shown in inches, like 5×4.5).
This spec matters because the wheel’s bolt holes must line up exactly with the studs or bolt holes on your hub. There’s zero tolerance for guessing here — a wheel that’s off by even a few millimeters in PCD won’t seat properly, and forcing it on with lug nuts can crack the wheel or snap studs. Bolt pattern is separate from other wheel specs like offset, center bore, and wheel width, all of which also need to match or be compensated for, but bolt pattern is the non-negotiable one. If it doesn’t match, the wheel doesn’t go on, period. This is also why swapping wheels between different vehicle brands sometimes works and sometimes doesn’t — it all comes down to whether the PCD lines up.
Tools You’ll Need
Measuring a bolt pattern accurately doesn’t require expensive equipment, but having the right tools saves you from guesswork and repeated trips back to the garage.
- Tape measure or steel ruler: A flexible cloth tape or a small steel ruler works. Digital calipers are even better for precision, especially on 5-lug patterns.
- Bolt pattern gauge: These inexpensive template tools (often under $15) have pre-cut holes for common patterns. You hold them against the wheel and find which holes line up — no math needed.
- Phone with a bolt pattern app or online calculator: Several free apps let you input simple measurements and calculate PCD instantly, which is especially useful for odd-numbered patterns.
- Good lighting and a clean wheel face: Dirt, brake dust, or old wheel weights can throw off your measurement point. Clean the lug area before measuring.
- A notepad: Write down lug count, raw measurement, and calculated PCD immediately — it’s easy to forget or mix up numbers between wheels if you’re checking multiple vehicles.
If you’re also dealing with a wheel that’s been curbed or impacted, it’s worth checking for damage while you’re at it — see our guide on how to straighten a bent rim before you invest in new hardware.
Measuring 4, 6 & 8 Lug Patterns (Even Numbers)
Even-numbered bolt patterns are the easiest to measure because every hole has a direct opposite across the center. Here’s the process:
- Remove the wheel or access the hub/wheel face directly, ideally with the wheel off the vehicle so you can lay it flat.
- Identify two lug holes directly across from each other (180 degrees apart).
- Measure from the center of one hole to the center of the hole directly opposite it. Center-to-center is critical — don’t measure edge to edge.
- That measurement in millimeters (or inches) is your PCD.
For example, if you count 6 lug holes and the center-to-center distance across is 139.7mm, your bolt pattern is 6×139.7 — a very common pattern on full-size trucks and SUVs like the Toyota Tacoma, Chevy Colorado, and older Ford Rangers. A 4-lug wheel measuring 100mm across is 4×100, common on compact cars like the Honda Civic and Mazda3. An 8-lug pattern measuring 165.1mm is 8×165.1, typical of heavy-duty trucks like the Ford F-250 and Ram 2500.
The most common mistake here is measuring to the inside or outside edge of the hole instead of dead-center, which introduces a few millimeters of error — enough to make you think you have the wrong pattern entirely. Take the measurement twice from different hole pairs to confirm consistency.
Odd-Numbered Bolt Pattern Math Explained
Five-lug patterns are the trickiest because there’s no hole directly opposite another — the holes are staggered around the circle, so a simple straight-across measurement won’t give you the true diameter. This is where most DIYers get confused.
The trick: measure from the center of one lug hole to the outer edge (not center) of the hole that is farthest away from it — typically two positions over. This measurement approximates the true center-to-center PCD closely enough for identification purposes, though it’s not mathematically exact.
For true precision, use this formula: if you know the number of lugs (n) and the straight-line distance (d) between two adjacent lug centers, the PCD equals d divided by the sine of (180/n) degrees. For a 5-lug wheel, that’s d ÷ sin(36°). So if adjacent lug centers measure 67mm apart, PCD = 67 ÷ 0.5878 ≈ 114mm, which rounds to the common 5×114.3 pattern found on many Honda, Toyota, and Nissan passenger cars.
Most people skip this math entirely by using a bolt pattern gauge with pre-cut 5-lug templates, or a bolt pattern app that does the trigonometry for you. If you’re doing it manually, double-check your result against known common patterns (like 5×100, 5×114.3, 5×120, or 5×127) — if your calculated number is close to one of these, you likely have that pattern and any small deviation is measurement error, not a genuinely unusual PCD.
Common Bolt Patterns by Vehicle Brand
While you should always verify by measuring, knowing common patterns by brand helps you sanity-check your results and spot mistakes quickly.
| Bolt Pattern | Common Vehicles |
|---|---|
| 4×100 | Honda Civic (older), Mazda3, Toyota Corolla (older), Mini Cooper |
| 4×114.3 | Nissan Sentra, Mitsubishi Lancer, older Hyundai models |
| 5×100 | Subaru Impreza/WRX, VW Golf (some), Scion tC |
| 5×114.3 | Toyota Camry, Honda Accord, Nissan Altima, Kia/Hyundai (newer) |
| 5×120 | BMW 3/5 Series, Chevy Camaro, Land Rover |
| 5×127 | Jeep Wrangler/Grand Cherokee, Chevy Impala (older) |
| 6×139.7 | Toyota Tacoma/4Runner, Chevy Colorado, Ford Ranger, Nissan Titan |
| 8×165.1 | Ford F-250/F-350, Ram 2500/3500, Chevy Silverado 2500HD |
Keep in mind manufacturers change patterns across generations and trims. A 2010 model and a 2022 model of the same nameplate may use different PCDs, so treat this table as a starting reference, not a guarantee. Always confirm with a physical measurement, especially before ordering wheels online.
Using Wheel Adapters When Patterns Don’t Match
Sometimes you’ll fall in love with a wheel set that doesn’t match your vehicle’s factory bolt pattern. Wheel adapters (also called hub adapters) can bridge that gap in many cases, bolting onto your existing hub studs and giving you a new bolt circle to mount the desired wheels onto.
Adapters work well when done correctly, but they add complexity and failure points to a critical safety system, so they need to be sized and installed precisely. Key considerations:
- Thickness adds offset: Adapters typically range from 1 inch to 3+ inches thick, which pushes the wheel outward. This changes your effective offset and can affect steering geometry, fender clearance, and load on wheel bearings.
- Quality matters enormously: Cheap adapters have been linked to failures under load. Stick to reputable manufacturers with hub-centric designs and hardened studs rated for your vehicle’s weight.
- They’re not for every mismatch: Going from 5 lugs to 6, or significantly changing PCD, is common with adapters, but always verify the adapter is rated for your specific application, not just