
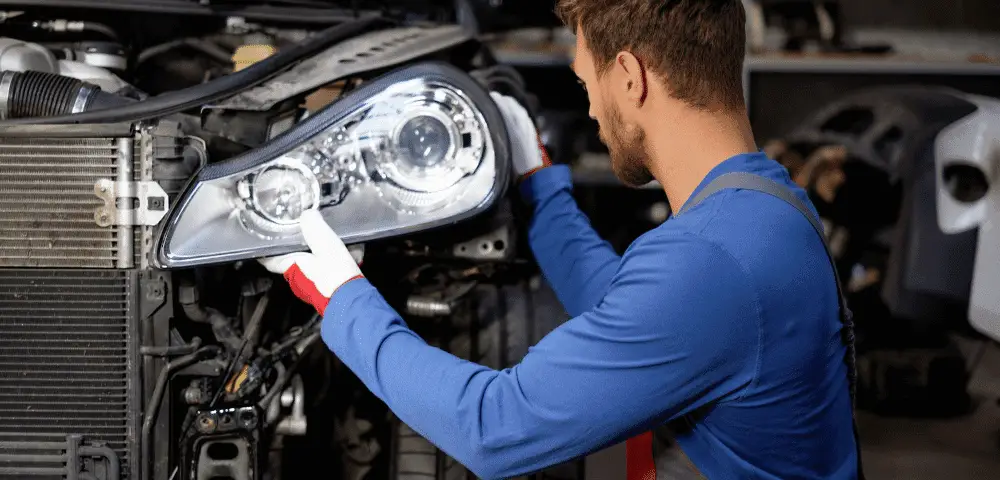
If you have a car or motorcycle, one of the most significant features you’ll need at any time, especially when driving at night is the headlight.
The headlight provides visibility in the dark but in doing so, they may experience certain complications or even get dirty. When that occurs, what you’ll be interested in is replacing the headlight lens or cleaning it.
In the process, you are resealing your headlight.
Without further ado, this article aims to show you the step-by-step guide on resealing headlights all by yourself.
Why Reseal Headlights?
If you want to customize, replace, or clean your car headlight, it is important that you open it apart to access the lens.
Unfortunately, it isn’t an easy procedure because the headlight housing generally is sealed with glue-like sealants, making it very difficult to take apart.
Nevertheless, if you have a heat gun or oven providing low heat, and you handle the headlight assembly and other components with care, you should get it done.
And when resealing, you should also be careful because moisture may accumulate around the headlight, causing damage to the headlight.
Sealing Headlights: How to open and reseal headlights
Here is how to get started with removing and reassembling your car headlamp.
Tools and Equipment Needed
Before you change car lights from the headlamp assembly and reseal, you need to get some important items or tools. They include:
- Flathead Screwdriver
- Clamps
- Needle nose pliers
- Sealant (butyl headlamp sealant) or glue
- Baking oven
- Silicone or Rubber Pad
- Air blower
- Eye goggles and safety gloves
Step-by-Step Guide?
After you must have popped the hood of your vehicle and have removed the bumper cover on the outer edge covering the headlight, you can begin the following:
Take the Headlight Apart
The first thing you should do is take the headlight assembly apart.
The removal of the headlight, however, often depends on the material. For instance, there are those made of plastic and others with molded tabs and screws.
However, if you have to remove screws or bolts fastened to the headlight, use a flathead screwdriver or a Philips head screwdriver and store the screws carefully on a work tray.
Soften the Sealant in the Headlight
The next thing to do is to work on the headlamp. One of the common sealants for headlights is a butyl headlamp sealant.
You might have to soften this sealant in the headlight excessively by baking it in an oven so you can work properly with it.
The best temperature to bake is between 230 to 240 degrees Fahrenheit (about 20 minutes). Higher temperatures would make it melt.
Pry the Headlight Assembly
Now that you have your headlight assembly baked with the sealant softened, the next step is prying the headlight open.
You can use your pliers to carefully pry the headlight open to two halves.
You may find this less time-consuming and have a plastic frame with a guaranteed low risk of damage when you bake the sealant.
Prepare the Butyl Headlamp Sealant
The next thing you may want to proceed with is preparing your adhesive so that you can work efficiently with it.
Just like you did with the old sealant, you will have to bake the new one in an oven but not for as long as the former.
In fact, if you work with a butyl headlamp sealant, you spend up to 5 minutes.
Test the Bulb in the Headlight Lens
Testing the headlight bulbs is another significant thing you must do because it is the foundation by which you are pulling the headlight assembly apart.
If the light bulbs don’t have issues, you don’t necessarily have to change. However, if they do, you should get new bulbs or lights from a good store.
While you fix the lights or bulbs into place, you should also worry about the headlight cover (or headlight housing) – you need to clean it thoroughly against deformation or discoloration.
Bake the Sealant in the Headlamp
The next part is putting the headlamp with the new sealant over the old sealant into the oven.
Although the headlight might work without baking you need to do this if you want a good fix.
However, you should make sure not to bake at high temperatures because the sealant or glue may expand or flow in the oven, giving you a lot of work to do.
Clamp the Headlight
With oven mitts, bring out the headlight assembly from the oven and allow it to cool for some seconds.
If you are convinced enough that you could complete the final stages with the headlight, you should go ahead with clamping.
Clamps are better choices to hold the headlight together compared to ropes or paracords. The reason is that clamps hardly create pressure points on plastic compared to the latter.
Remove Excess Sealant
In this resealing process, the final thing you have to do is remove excess sealant from the headlight so it doesn’t make it messy.
With your light bulbs properly fixed and the headlight housing or gasket stable, you have done a great job at sealing your headlamp assembly back to your car for road use.
What sealant is used to seal headlights?
When choosing a sealant to use to seal headlights, you need to consider certain factors.
- How long do you want the sealant to last?
- What is your budget for a new sealant?
- Will the new sealant be better than the old sealant?
Once you have answers to these questions, you can start.
There are general adhesives that can be used to fix or seal headlights of cars; however, there are better choices like butyl headlamp sealant.
This butyl headlamp sealant is designed exclusively for automotive because of its quality, strength, ease of use, and protection against moisture ingress for a long time.
Can you use silicone to reseal headlights?
Yes, you can.
If you are working on your headlight channel, another glue you may use to do a proper seal is silicone.
Silicone sealers are incredible and also easy to use. All you just need to do is apply the sealant around the headlight and leave for some hours to cure. It could cure between 12 to 14 hours successfully.
Why Do You Need to Prevent Moisture?
When working with headlights, you need to do everything possible to prevent moisture or condensation.
The reason is that you don’t want moisture to leak into the bulb in your new headlight.
Condensation in the headlight would have many car owners struggling to see clearly when driving. As a matter of fact, condensation also adversely affects the quality of a headlight assembly.
Conclusion
The idea behind resealing headlights properly is so that you can have a great time driving on the road without having to worry.
With an oven to provide heat or bake the headlamp for correct application of a good sealant like the Butyl headlamp sealant and careful fixing of the headlamp back into position, your vehicle is at its best form once again.
While you do this, ensure you are fully invested in preventing moisture – if you see a sign on the surface, try to do everything possible to get rid of it.

 Tire Forge