
Applying tints to your headlights and taillights offers undeniable benefits. Not only does it offer protection against scratches and dents but also from harsh UV rays.
However, the tint shouldn’t be left to sit for too long. If it is, it causes a foggy appearance and it can even hinder proper visibility.
Thankfully, removing tint from the headlights and taillights is easy by using either a chemical-based tint remover or glass polish. This post provides a detailed guide on how to remove headlight tint spray.
What Happens When You Spray Tint on Headlight Covering?
There are a couple of things that happen when you add tint to headlights or taillights.
The biggest difference is that it gives your car a sleek look. It will look so brand new, you’d think the vehicle has undergone buffing or it’s been painted afresh.
Secondly, tinting amps up the protection of the headlight against ultraviolet rays. So you won’t have to worry about the headlights becoming blurry because of prolonged exposure to these rays.
Lastly, adding a tint makes preexisting dents, chips, and cracks less noticeable. If you’re not ready to replace a whole headlight because it’s slightly chipped, applying tint is a cheaper solution.
How long does headlight tint spray last?
Yes, a headlight tint spray offers several advantages. But that doesn’t mean that it lasts forever. The longevity depends on the specific film that was used.
Standard tint films have an average lifespan of 2 to 3 years. Conversely, paint protection film (PPF) can last a whopping 10 years!
Does Spray Tint Peel Off?
No, it doesn’t. If you used a spray tint on the lights, the best way to remove it is by using a chemical-based tint remover.
However, if you used an adhesive tint, then it can be peeled off by following the steps highlighted later in the article.
How to Remove Headlight Tint Spray
Many car owners are reluctant to remove spray tint from their headlights; understandably so.
If you’ve never done it before, you might be scared of damaging the lighting fixtures.
However, all you need is a little bit of patience, and know the right tools and removal techniques. Here are some DIY headlight tint removal strategies:
Step-by-Step Guide to Remove Spray Tint
Start by gathering all the materials and protective gear you’ll need to conduct this process. The materials are a razor, a piece of clothing, and tint remover or paint thinner.
As for the protective clothing, ensure you have a pair of work gloves, a face mask, and safety glasses.
You can then follow these steps:
- Using a razor, scrape off any tint that has started to peel off.
- Take a soft cloth and dip it in the spray tint remover or paint thinner.
- Take the soaked piece of clothing and wipe the headlight or tail light. Allow this solution to sit for anywhere between 2 and 3 minutes. If using a paint thinner, don’t leave it for longer than 3 minutes as it can damage the plastic.
- Once the time elapses, rinse the lights with clean water and dry them using a clean cloth.
- If a small portion of the tint lingers, repeat the steps above until it’s completely removed.
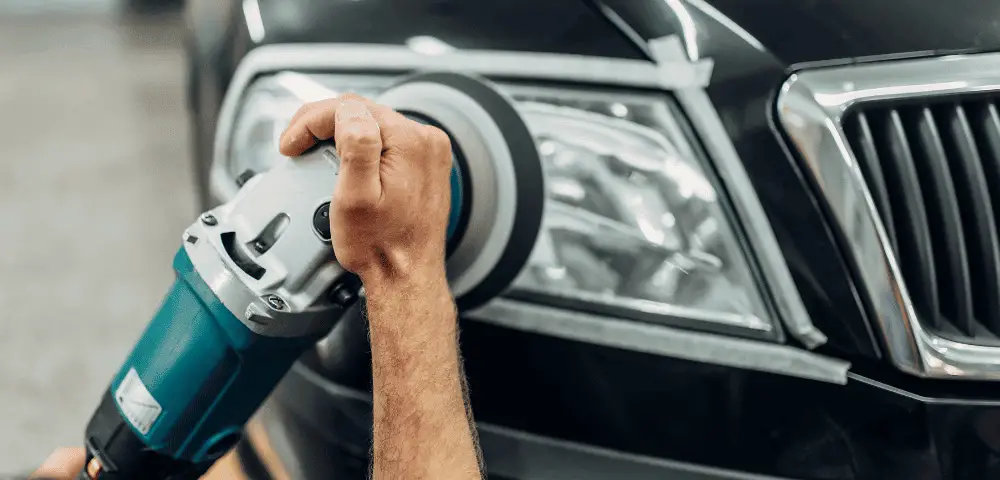
- Once all the tint has come off, you can apply a mild polishing compound. This helps to restore the headlights’ glossy appearance.
Step-by-Step Guide to Remove Adhesive Tint
An adhesive tint peels off more easily in warmer temperatures. As such, you’ll want to carry out this process in an outdoor space with mild sunlight.
If it’s too cold, you’ll likely have to look for an external heat source to get the adhesive to peel off. A steamer, hair dryer, or portable blow torch will suffice.
- Using your preferred item, gently apply some heat on the adhesive tint for a few seconds.
- Choose a point from where you’ll start peeling off the tint. If the tint has already started to come off, start peeling from that particular area.
- As you peel, be careful not to fold it over and pull. Doing so will leave some of the tints stuck on the headlight or tail light. The correct way to go about this is to stretch it out as you peel.
- If it feels like the adhesive is becoming adherent, use your blow torch burner to apply light heat.
- Once you’ve removed the whole tint, use a cleaning solution to remove any adhesives left. The best cleanser for this situation is acetone or rubbing alcohol as they’re able to dissolve the adhesive.
- If there’s one suggestion I would offer, it’s to detach the tail light and/or headlight from the vehicle. This gives you unlimited access to all its nooks and crannies; hence, making it easier to clean.
Why Remove Your Car Headlight Tint
There are several reasons why you’d want to remove the tint on your car’s headlights.
For one, if the tint warranty period expires, it’s good to have a new one reinstalled.
If you keep the tint longer than what’s recommended by the manufacturer, it will start to lose its strength. This means that it won’t offer the same level of protection as when it was new.
Secondly, you may want to remove the tint if you move to a state where this practice is forbidden.
Depending on the tint you use, it can decrease the amount of light streaming from the headlights.
This means that other motorists will have difficulty seeing you. To avoid this, headlight and tail light tinting is forbidden in certain regions.
Other times, you may want to remove the tint because you’ve lost interest in the current color.
Whatever the reason, be sure to follow the correct procedure to remove tint spray or adhesive tint and this brings us to our next point.
Will Paint Thinner Remove Spray Tint?
Yes, it will. Since it’s a solvent, paint thinner can be used to remove the spray paint on headlights. All you have to do is to soak a rug in the paint thinner, then use it to wipe the headlight.
Important to note though is that paint thinners contain hydrocarbons that can easily irritate the skin. So if this substance accidentally comes into contact with your skin, wash the affected area using running water and mild soap.
Can You Remove Spray on Window Tint?
Yes, you can. If one of your car windows just got spray painted, it’s possible to remove that stain.
In fact, there are several methods you can use depending on the severity and location of the spray paint.
Once, I had to get rid of spray paint from my car window. Since the stain was pretty fresh, I wiped it off immediately with a dry cloth and it worked great.
For light stains though, acetone products like nail polish remover, lacquer thinner, or paint thinner work better.
If you’re dealing with more stubborn stains, wet a rag with rubbing alcohol and use it to wipe the headlights.
Alcohol does an exceptional job of breaking down the bond holding the paint and ionic compounds together; making it easy to clean.
Does Vinegar Remove Tint?
If you’re looking for a cost-effective way to remove headlight tint, then yes, vinegar is your best bet.
Fill a spray bottle with a mixture of vinegar and soapy water.
Spray the tinted headlight with this solution and allow it to sit. Respray the solution a couple more times so that it doesn’t dry up completely.
Alternatively, consider wrapping the fixture in plastic wrap for the next 24 hours to seal in this moisture.
By the time you remove the plastic wrap a day later, the tint will be coming off easily.
Conclusion
Wondering how to remove headlight tint spray? Well, the easiest way to do this is to use a special tint remover, or alcohol-based treatments like acetone, lacquer thinner, or paint thinner.
Adhesive tints are much easier to remove. All you have to do is apply a tiny amount of heat, then peel it off gently.
If your tint has begun to wear out, it’s important that you replace it with a new one. Retaining it any longer will cause the headlights to dull, which will affect your visibility.

 Tire Forge