
Have you ever been on the road and suddenly had problems with your tires or wheels? If you have, you know it is never a good experience.
One of the many problems you could face is your wheel jumping off the tire bead. It could be dangerous.
However, the solution is to reseat the tire bead on the wheel and change the tires or re-inflate to keep moving.
The aim of this article is to discuss how to seat tire beads, the causes, and other important things to know.
What Causes A Tire Bead To Unseat?
For your vehicle tire bead to de-seat, there are two factors responsible:
Low Tire Pressure – Flat Tire
If your car tire experiences low air pressure, it is only because it has been in contact with a stronger force on the road or encountered road hazards such as deep potholes, curbs, and bumps.
And as the pressure decreases, it may cause bead failure – the tire bead pops off.
Defective Tires
Another reason why your tire bead popped off is if you use defective tires. It is important that you consider the choice of the manufacturer before buying tires for your vehicle.
A problem during the manufacturing or production process could eventually cause your tires to be faulty – explosion or reduced pressure, ultimately leading to bead loss.
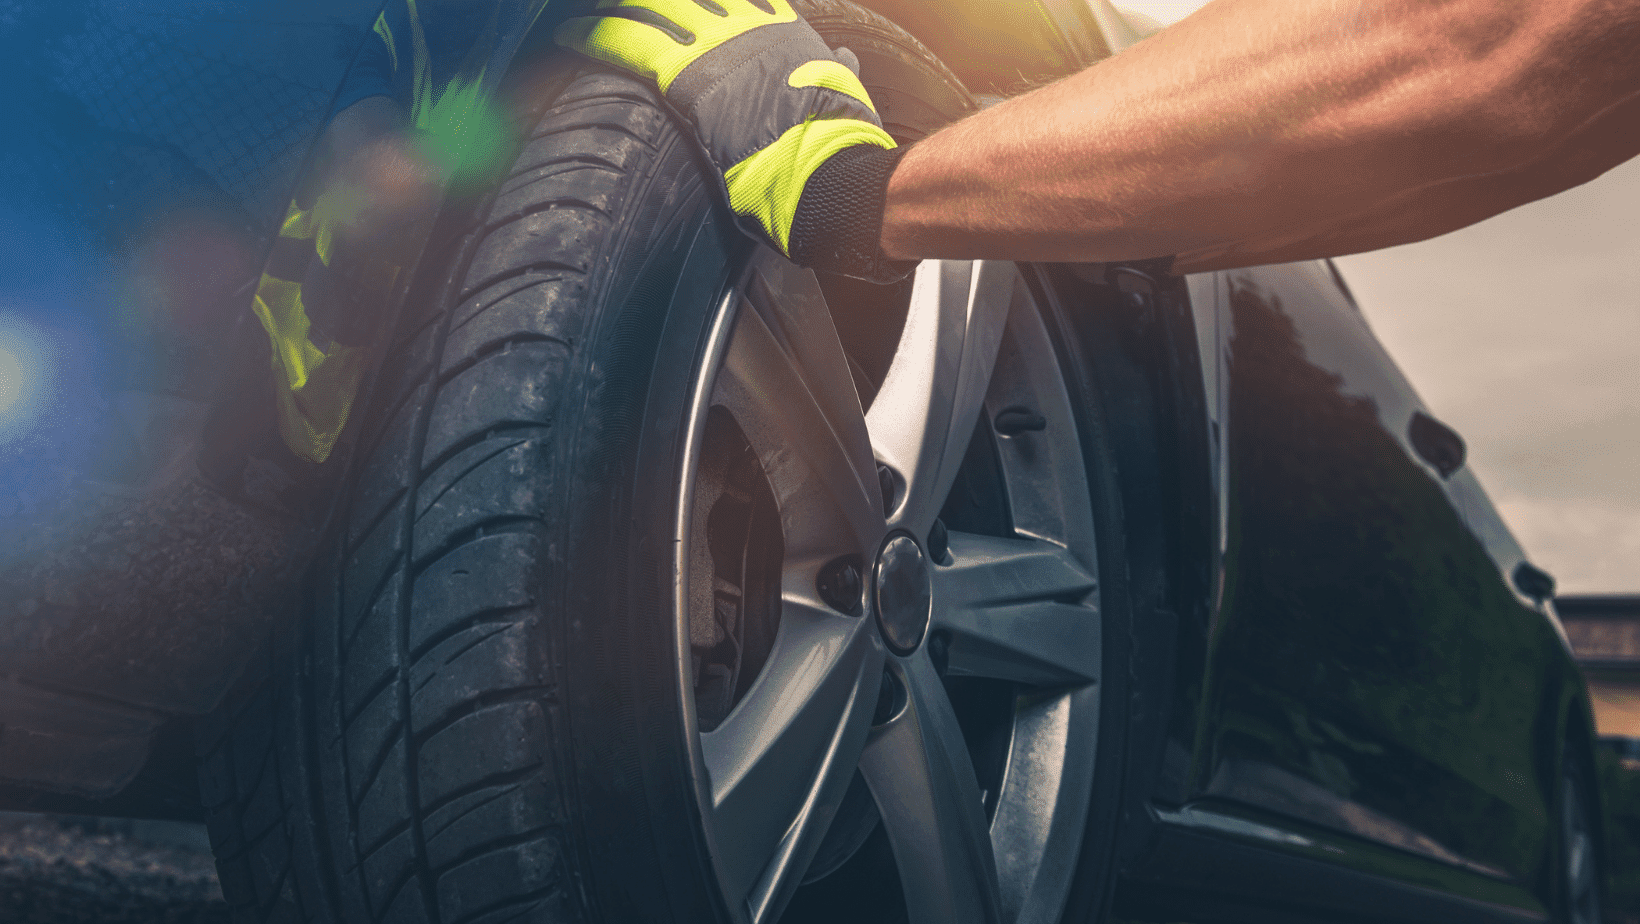
How to seat a tire bead?
Bead de-seating is a common problem in off-road vehicles. It could come out on the inner or outer side or both sides. But whatever the situation is, there is nothing a simple reseating work cannot fix.
Here is how to go about it:
The Conventional Method
Raise The Affected Tire
The first step to fixing the problem is to raise the affected tire so that there is enough space to work on it.
You can raise the tire to a decent height with the help of a jack or rig.
Separate the Tire from The Wheel
Now, you can choose to work on the bead while the tire is still attached to the wheel or not.
Even though it is easier to work with the attachment in place, it is more effective when you separate them and re-attach them.
Clean the Debris in the Wheel Bead with Dish Soap
By the time you have the tire bead area exposed, there is a good chance that you will find debris seating around it.
You should consider cleaning the debris off because it is important in sealing and re-seating.
As a matter of fact, you can wash the bead set with soapy water – as long as it is rid of dirt and can ensure smooth reseating.
Inflate Your Tire Through the Valve Stem
And when the whole area is clean with the tire bead re-seated, you can fix up your tire. You can work on the old one or get a new tire.
The inflating of your tire shouldn’t be difficult – especially if the rear bead is still attached to the wheel.
Simply add air via the valve stem on the tire sidewall using a blow gun.
If you hear a hissing sound while pumping, that means some parts are not holding air and need to be sealed by focusing on those areas.
When air eventually reaches every part, you should have the tire popped back to the bead seat.
Reseat the Tire
Ideally, it takes a good shot of air to push a tire back into place. As a matter of fact, you may have to use a large pump.
And once the tire is seated back into its regular position, you can restore the tire back to the ground.
The Starter Fluid Method
Alternatively, the starting fluid method can help reseat a tire bead effectively.
This method involves adding a little amount of starter fluid into the blown tire and igniting it with a match.
Now you have to be quick about this. Immediately the tire starts expanding into the wheels due to the heated gas developed inside the tire, you should add air into the tire via the valve stem for inflation.
As a matter of fact, you can even remove the valve core to get air inside the tire better.
The only thing is: you have to be careful with this method because the hot gasses are quite dangerous.
The Ratchet Strap Method
The Ratchet Strap method is another way to set the bead of a tire. It is quite simple to use but may not be so effective.
It involves cinching it down-throw into the tire to create tension in the tire for bead arrangement.
How can you tell if a bead is seated?
After following the step-by-step guide above, you still need to confirm if your tire bead is fully seated or not. Here are the things that would tell you if it is or not.
Even Rim Lines
The first sign of a seated bead is an even rim line.
You should trace the bead around the rim – check both sides (internal and external) for gaps.
The inner tube shouldn’t be visible and the convex bead indicator should maintain an even spacing from the rim around the wheel.
No Air Leak
Another way to tell if the tire bead is well seated is no air leak.
Flat tires are commonly associated with tire bead de-seating.
And even after you’ve fixed the issue, you should confirm and make sure that there are no holes around the rubber tire that could cause other damage.
A simple way to confirm air leaks is to spray or add soapy water to the tire and look out for bubbles.
What holds the tire beads in place?
The Mounting Hump is a feature in the wheel holding the tire beads in place.
The mounting hump is a small ridge around a barrel, keeping tires from slipping away from the edges’ wheels.
How to Reseat a Tire Bead?
Let’s say your tire beads need a proper re-seat after showing signs that your wheels could come off, here are things you should do:
Let Air Out Of The Tire
You should start by raising your tire and slowing air out from the tube valve. You might even need tools like an Allen wrench to press air out of the valve until it becomes deflated.
Clean the Entire Bead
Likewise, you need to clean the tire bead, making sure it is rid of debris or dirt. As a matter of fact, you can use a lubricant on the tire bead while resetting it.
Press The Tire Bead
The next step is to fully seat the bead by pressing it in place.
However, you have to be careful while doing this because you don’t want the inner tube in between the rim and the tire.
A simple way to ensure it is done properly is by making sure the tire bead track follows the rim’s edge. Check both sides of the rim – make sure they are even.
Inflate The Tires
Finally, inflate the tires with a blow gun to the recommended pressure on the tire sidewall.
And while you do that, make sure to check if the tire bead is fully seated and is ready for use.
Conclusion
If you’ve always wanted to know how to seat a tire bead, this article has successfully provided you with a comprehensive guide.
You could watch YouTube videos for a more visual approach on how to use starting fluid, ratchet strap, or the conventional method.
Overall, investing in vehicle maintenance is a great responsibility.

 Tire Forge
