
If you’re planning on customizing your car, it would be tragic if you ended up ignoring your old and dull-looking brake calipers.
However, you might be confused about where to begin. Read on to find out everything you need to know about how to paint brake calipers.
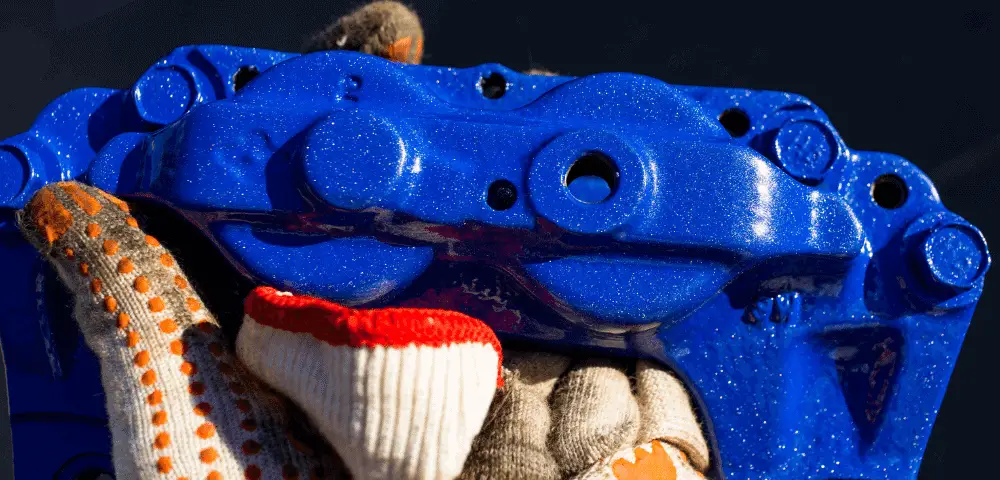
Will Painting Brake Calipers Cause Problems?
First things first, is it okay to paint brake calipers? If you’re new to taking care of your car, you’ll most likely be a little hesitant about painting any kind of important car part.
A cautious attitude is the best approach you could have as messing with car parts you don’t understand can be potentially dangerous.
If you end up messing with a car component as important as a brake caliper without knowing what you’re doing, you’ll undoubtedly be taking a huge risk.
When it comes to painting them, however, rest assured though because you can paint them without any worry.
That doesn’t mean you shouldn’t be careful.
A brake caliper is usually positioned near the brake pads. Getting paint on brake pads can significantly impact your car’s ability to stop at a moment’s notice which may lead to potentially dangerous situations.
That’s why, before proceeding, you have to ensure that you only apply paint to the brake calipers. Either tape the adjacent parts or uninstall them, if you know-how, to avoid any problems.
What Is the Right Way to Paint Brake Calipers?
While painting brake calipers is as straightforward as it can get, you need to ensure that you take the proper steps and factors into consideration before and after painting.
Consider the fact that some paints require you to avoid driving your car for at least 24 hours. If you don’t follow the instructions, the best-case scenario is that you’ll end up with a shoddy job.
Small necessary steps like this mean that you need to plan well ahead before you jump into painting a brake caliper.
Moreover, you need to be vigilant while painting them to avoid the paint getting somewhere it really shouldn’t, as mentioned before.
How To Paint Brake Calipers?
The comprehensive guide below will tell you all the dos and don’ts when it comes to painting a brake caliper properly. Before we begin, here’s everything you will need.
- 1 Large Piece of Sturdy Cardboard
- Your Choice of Paint
- Plastic Carrier bags
- A Stiff Toothbrush
- Brake Cleaner
- Masking Tape
- Car Jack
Step 1: Prepare the Brake Caliper for Paint
Start by jacking your car and uninstalling the front wheels. You’ll find the brake caliper exposed once you’ve removed the wheel entirely.
Most brake calipers are rusty and dirty, so yours aren’t going to be an exception.
Before painting, you’ll have to spend a significant amount of time cleaning up all the dirt and dust off of them.
The brake cleaner will be a godsent help to clean the mess off. Here’s where you can use the toothbrush to scrub the brake cleaner onto the more difficult areas.
Finally, you can either remove the brake calipers or mask the nearby areas with tape before you begin to paint.
Step 2: Cut the Cardboard
Use stiff cardboard to cut out an upside-down shape of the letter L.
The shape shouldn’t be too large nor should it be too small that it doesn’t cover the car parts near the calipers.
You can use the cardboard as an additional shield to protect brake pads while you spray paint on the calipers.
Step 3: Cover the Rotor
You’ll have to spin the rotor wheel to stick the plastic between the brake pads. If you don’t, you’ll end up with gaps from where the paint can get in and stick to these places.
Step 4: Just Paint!
Whether you use dipping cans or aerosol, you should take as much time as you need to paint. You can spray paint carefully over the car part.
Trying to hurry might leave you with an uneven finish.
If you’ve opted for keeping the brake calipers attached while you paint, you’ll have to be extra cautious.
But keeping them and following the mentioned precautions is more recommended if you aren’t familiar with removing and attaching a brake caliper to your car.
Step 5: Clean Up
After allowing 2 to 3 hours for your paint to dry, you can now remove the plastic sheet coverings and the cardboard.
Reattach the wheel once you’re sure that the paint has dried.
After you’re done with all four of the brake calipers, take your car out for a test drive. If you face any problems, contact a local repair professional immediately.
What Kind of Paints Can You Use for Brake Calipers?
Painting your brake calipers is a small and easy-to-do step you can take to personalize your car and stand out from the rest of the crowd.
While this inexpensive customization job is easy to accomplish on your own, you can’t just pick up any paint from the hardware and start working with it.
The following are some of the paints you could use
- Aerosol
- Epoxy
- Vinyl Film
- Dipping Cans
What Makes These Paint Different?
Each of the mentioned paints has its pros and cons, you can choose one or the other based on your preference. Regardless of your choice, all of them share the following characteristics which you need in any kind of caliper paint:
Ability To Withstand High Temperatures
Brake calipers generally touch high temperatures. This is true regardless of whether you drive during summer or winter.
The calipers can heat up within minutes of starting your car.
That’s why there’s no point in using a drugstore paint that isn’t designed to handle heat as it will just melt or flake off within minutes.
Caliper paints, however, are designed to survive and maintain vibrancy despite high temperatures.
Long-lasting
While painting a brake caliper is relatively easy, it’s not something you can take the time to do often. Imagine having to paint calipers every weekend.
The time you spend on customizing your car will just stop being worth the benefits.
That’s why when making your choice of paint, try to get caliper paint because it is designed to last longer and is durable enough to survive rough road elements.
Gives Full Coverage
While painting layers on a canvas can be fun, doing so with brake calipers isn’t recommended. The ideal way of painting brake calipers is to do up to 2 to 3 coats maximum.
So, save yourself the trouble, and get a paint that you don’t need to paint over and over again.
Easy To Apply
Painting brake calipers is a simple and fun way to stand out. It stands to reason that applying the paint should be fun too.
Nobody likes a mess and a complex application process.
That’s why the ideal paint to use should be easy to apply.
Most people prefer to spray paint. Regardless of how you choose to paint, the paint should adhere to the calipers and should also come with brush-on kits you could use to add precise details if needed.
Dries Fast
Watching paint dry works as a universal expression for boredom and dullness for a good reason.
That’s why getting a paint that comes with a maximum drying time of an hour or two is an important factor to keep in mind.
Moreover, fast-drying paint also reduces the time you need to wait in between coats.
Conclusion
Painting brake calipers is a quick and affordable way to customize your car.
While painting a brake caliper is perfectly alright and easy to do, you have to be extra careful to avoid the caliper paint getting on other parts of the car if you decide to keep the caliper attached while you paint.

 Tire Forge
